Translate your first document end-to-end
Walk through Skrebe's bilingual editor: paste English, generate a Kriolu draft, review with the linter and glossary, save and export.
This tutorial takes you from a blank document to a saved, exported English → Kriolu translation, using Skrebe's bilingual editor. Plan on about ten minutes for a paragraph or two of text — the editor is fast, but the review pass is where the value lives.
What you'll do
- Start a bilingual document from the workspace chooser.
- Paste your English source.
- Generate a Kriolu draft with AI Draft.
- Review the draft with the inline ALUPEC linter and the Issues panel.
- Save your work and export the document.
Before you start
You don't need an API key for this tutorial — Skrebe's demo mode handles short paragraphs out of the box. For longer texts or daily use, bring your own key. Drafts live in your browser's local storage; closing the tab does not lose them.
If your goal is to polish a Kriolu draft you already have (not to translate from English), the Polish a Kriolu draft in 5 minutes tutorial is the better starting point.
Step 1 — Start a bilingual document
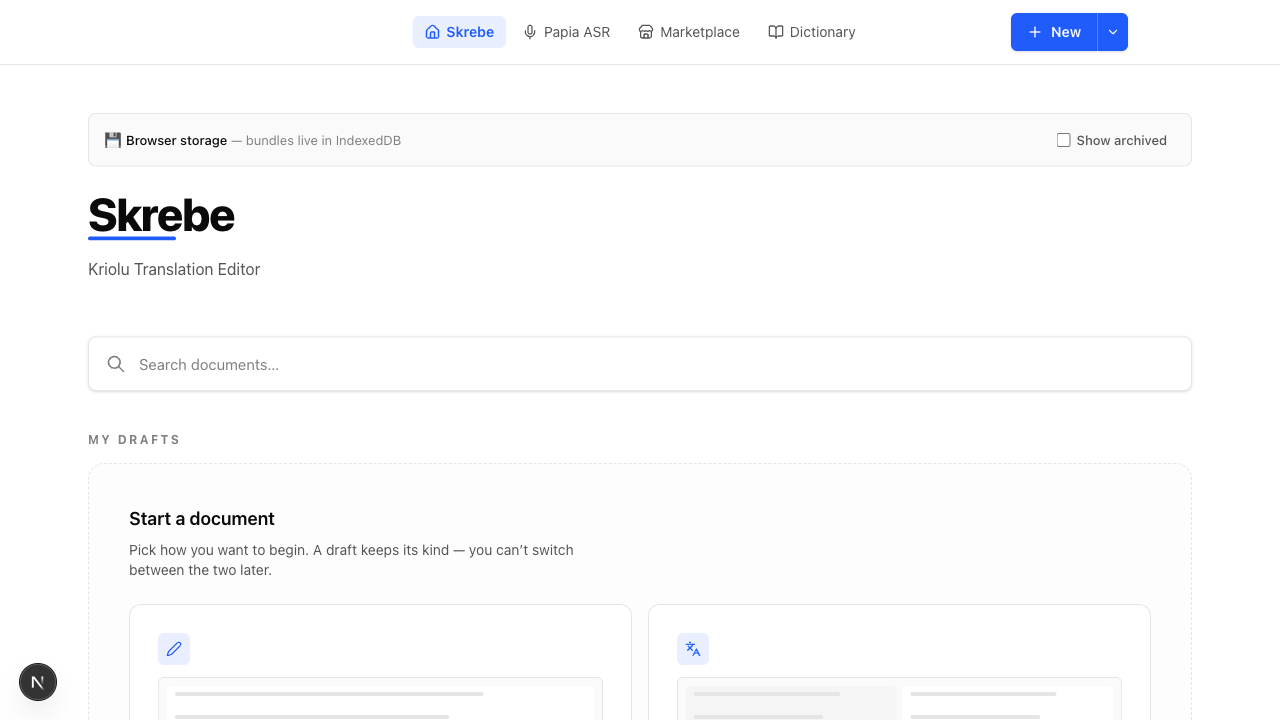
Open Skrebe. On the workspace page you'll see a Start a document chooser with two equal options. Pick English → Kriolu translation.
The bilingual editor opens. You'll see two panes — the English source on the left, the Kriolu target on the right — separated by a draggable divider. The header shows a Bilingual badge so you always know which mode you're in.
Step 2 — Paste your English source
Click into the left pane and paste your English text. A short paragraph is the easiest starting point for this tutorial — pick something you'd plausibly want in Kriolu (a notice, a recipe, a piece of dialogue). Skrebe handles longer texts too, but a single paragraph keeps the review pass fast.
The right pane stays empty for now. Skrebe doesn't auto-translate when you paste — you trigger it on purpose.
Step 3 — Generate a Kriolu draft
In the toolbar above the right pane, click AI Draft (or press Cmd + Enter on macOS, Ctrl + Enter on Windows / Linux). Skrebe sends your English text to the configured AI model and streams the Kriolu translation into the right pane.
What to expect:
- The draft streams paragraph by paragraph; you can start reading the top while the bottom is still arriving.
- It uses ALUPEC orthography by default (
txfor the ch sound,djfor the j sound, noç/ã/ñ). - If your source has names, idioms, or domain terms, the draft will sometimes guess — that's what Step 4 is for.
Step 4 — Review the draft
Click into the right pane. As you read, you'll notice two passes of feedback:
Inline ALUPEC linter. Forbidden characters (ç, ã, ñ, accented vowels that don't belong) and common Portuguese-interfered spellings get a wavy underline. Hover for the suggested replacement; click to accept.
Issues panel. On the right edge of the editor there's an Issues icon (a small triangle). Click it to open the panel. You'll see the same lint findings grouped by severity, plus glossary mismatches if you have a glossary configured.
Work through the list top to bottom. For each item:
- Click the item in the Issues panel — the editor jumps to that line.
- Read Skrebe's suggestion in the popover.
Accept it (the suggested fix replaces your text) or dismiss it (the underline disappears for that occurrence).
Issues that you accept or dismiss leave the list. When the list is empty, your draft passes Skrebe's baseline checks.
Step 5 — Save and export
Skrebe autosaves as you type — the header shows a Saved chip when your work is on disk. There's nothing to commit, no save button to remember.
To take your translation out of Skrebe, click Export in the toolbar. You get two choices:
.papia.jsonbundle — the round-trippable Skrebe format. Re-import later to keep the source / target alignment and the issue history.- Plain Markdown / text — just the Kriolu side, ready to paste into a CMS, a Markdown editor, or an email.
Success check
You're done with this tutorial when:
- The right pane contains a Kriolu translation of your English source.
- The Issues panel shows zero remaining ALUPEC lint findings (or only the ones you've consciously dismissed).
- You have an exported
.papia.jsonbundle or a copied Kriolu text file.
That's the full bilingual loop: paste, draft, review, export.
What's next
- Navigate the proofread queue (j/k, accept-all, dismiss) — keyboard shortcuts for working through issues faster.
- Supported BYOK providers and models — switch from demo mode once you outgrow it.
- Polish a Kriolu draft in 5 minutes — the same review pass, but on a Kriolu-only document.